If you don’t have Xion then you can download it here http://xion.r2.com.au/index.php?page=download.
Creating a Xion skin in Photoshop is the easiest way one can create a skin for any application. Xion skins are nothing but a PSD file which can be created with Adobe Photoshop, GIMP or PaintShop Prop etc with specially named layers. The different layers in the PSD file identify the different components of the skins. Like the play button would be drawn in a layer named ‘play’. Anyway it’s easy enough to build your first skin within minutes, So let’s get started with an example.
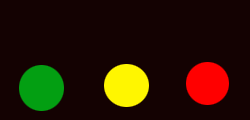
Create a new image in Photoshop with the size you want. Here I have created an image with 250x120 pixels. Choose any background color or any background image and create the background.

Then create a new layer and then select the elliptical marquee tool and draw a circle and fill it with color. Name this layer as ‘play’.

Now create other layers like ‘pause’, ‘stop’ etc similarly.

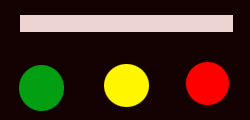
Now add another layer and draw a rectangle like in the image below. Name this layer ‘track’. This is where the track info would be displayed.

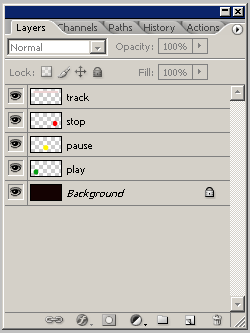
Now save the file with a .psd extension and open it with Xion or just drag the PSD file on Xion. There it is your first Xion skin. The below image shows the layer pallete for reference.

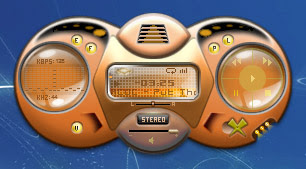
Well, I this is just a demo of how to make skins for your Xion player yourself with photoshop and I have not concentrated on the quality of the skin. But you can create some very impressing skins using this. Like the skin shown below which you can download here.

All the components and functions that a music player typically uses are available with Xion also and they all can be implemented in a Xion skin using photoshop layers. The concept is simple; every layer represents a different component. Just like in this example one layer is play button, another is pause like that. But you have to be careful while naming the layers as it is case sensitive. The complete layer reference can be found here.


0 comments:
Post a Comment